At this moment (start of the project), the pay to switch will get the following features:
There will be a specific LNbits wallet, that contains your switch balance
A flashed Sonoff S26 with modified Tasmota software will make a payment from the switch wallet to another wallet every minute, until the LNbits wallet is empty.
Since LNbits within your LAN is currently only HTTP, and not HTTPS, it seems unwise to send invoice payments over insecure wifi. Therefore, we will make a reverse proxy (so you need a domain), so we can send it with HTTPS.
Step 1 Flashing a Sonoff S26 with Tasmota
Flashing the Sonoff for the first time is the most difficult part.
Don’t be disappointed that this major step is hardly described here. It is only because it is perfectly described on the Tasmota site in detail:
Buy a USB to serial adapter
Download the Tasmota.bin file
Install a flashing device
Open-up the Sonoff S26
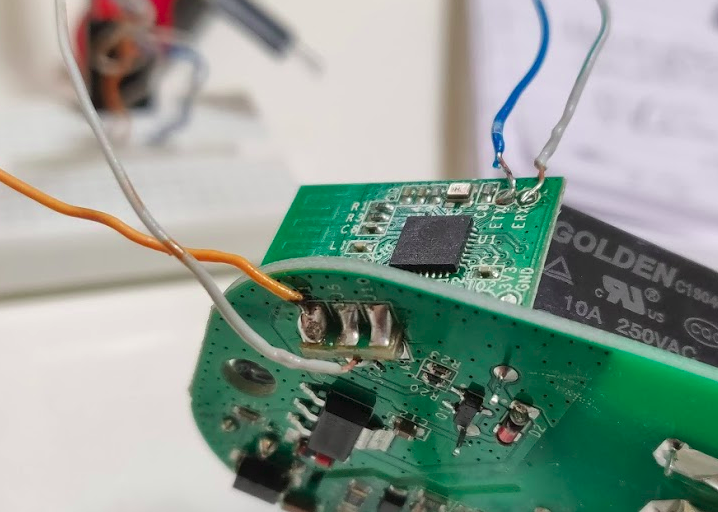
Solder the 4 wires
And finaly flash the Sonoff device.
By the way, I already ruined some devices by melting one of those teeny-weene small surface mounted resistors next to the point you have to solder. It happens, so accept it and buy some spares to start with.
Good luck with this step!
The Tasmota firmware allows flashing over the air, so you can re-assemble the Sonoff.